I love making pinwheels! They are a quick and easy craft that you can even do with the kids! You can make them in any size. Here are the ones I made for the 4th of July!
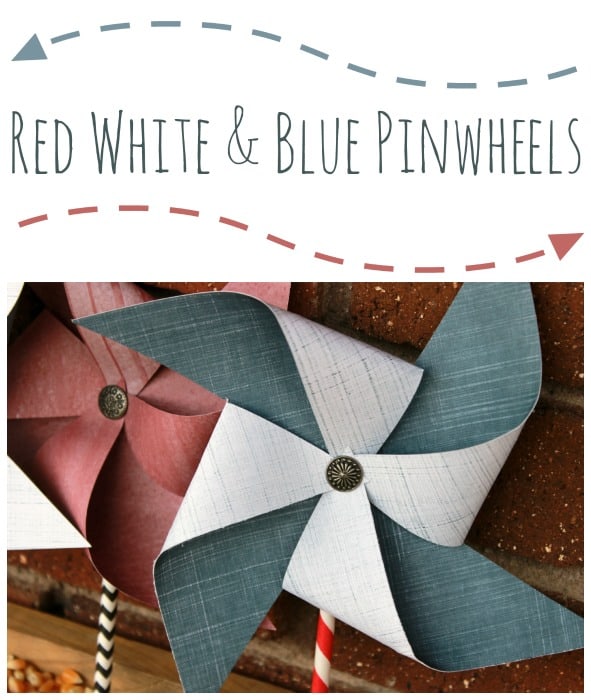
Red White and Blue Pinwheels Tutorial
Let me show you how easy they are to make!
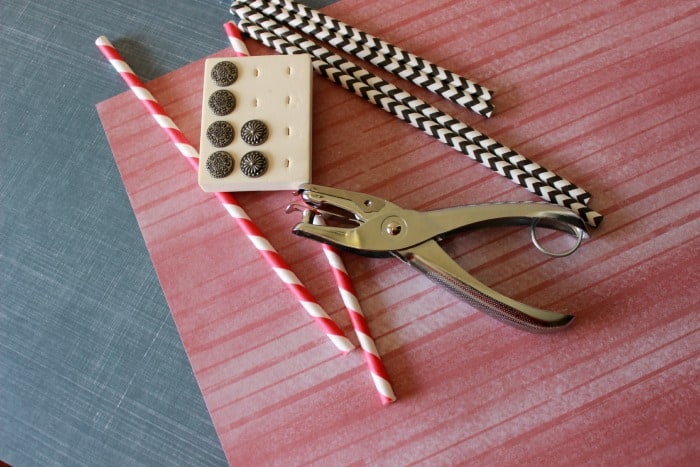
Supplies Needed:
- Red, White and BlueDouble sided scrapbook paper
- Paper cutter
- Scissors
- Hole punch
- Brads
- straws, sticks or dowels
- glue or tape
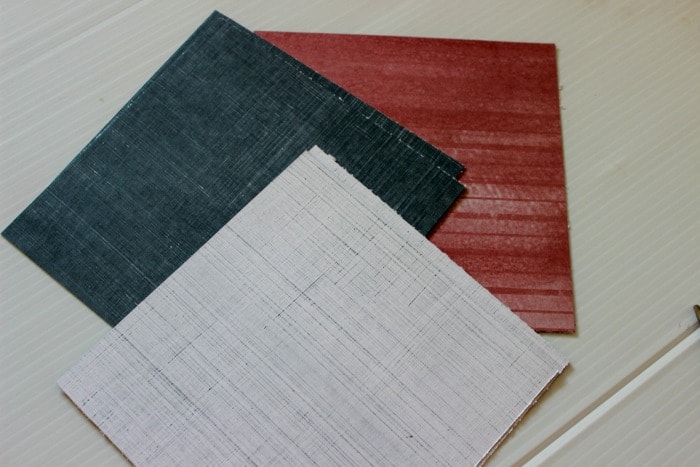
So grab your paper and cut some squares. The bigger the square the bigger the pinwheel. For my pinwheels I cut the paper to 6x6 squares. So out of 1 12x12 sheet I was able to get 4 squares, which will make 4 pinwheels
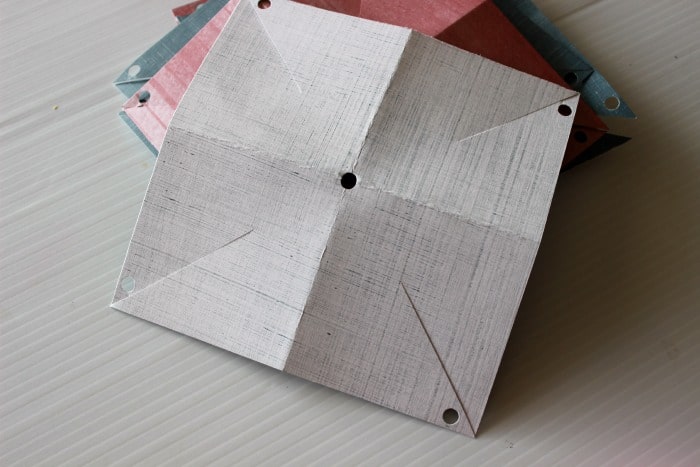
Now fold each square in half – open back up and fold in half the other way. Now using your hole puncher punch one hole in the center. This is kind of hard to get your hole punch to reach. But since you folded in half each way you can clearly see where the center is, right? So fold in half again and punch where the center is.
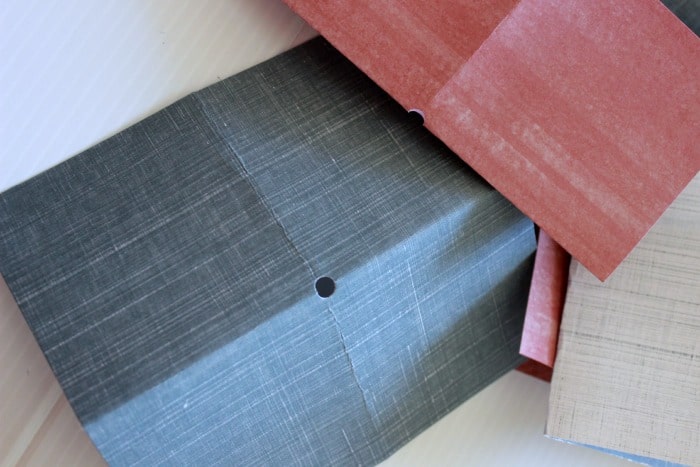
Now take your scissors and cut halfway from the corner to the center. Do this on all four corners. With the cuts you now see how we kind of have 4 triangles. On each triangle punch a hole on the right side close to the corner as shown in the photo below.
 Time to assemble the pinwheel! Take your first hole punched corner and match it to the hole in the center – hold down with your finger.

Repeat with the rest of the hole punched corners. Always match up the hole from the corner to the hole in the center. Put a brad through the center and fold down the prongs on the back. Repeat!
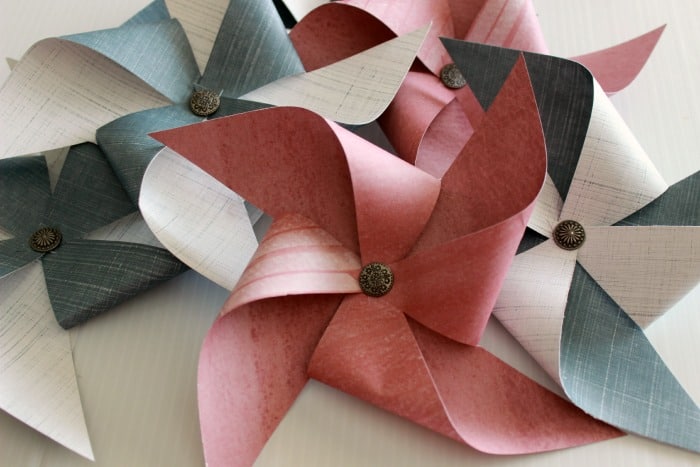
At this point you could use them for so many different fun things. Add to some ribbon and make a garland, scatter around a table for some fun party decor – there are so many things you could do. I glued them to some cute straws and made a centerpiece.

So fun, easy and inexpensive! If you like this 4th of July idea then you might like my these:
Recommended Posts


Leave a Reply